Followers

Sunday 3 February 2019

Work by my beginner quilters

Some time ago, I said I would post work done by the ladies in my beginners quilting class's.
I now have a 3 photo's to share with you of the work done by my lovely ladies!

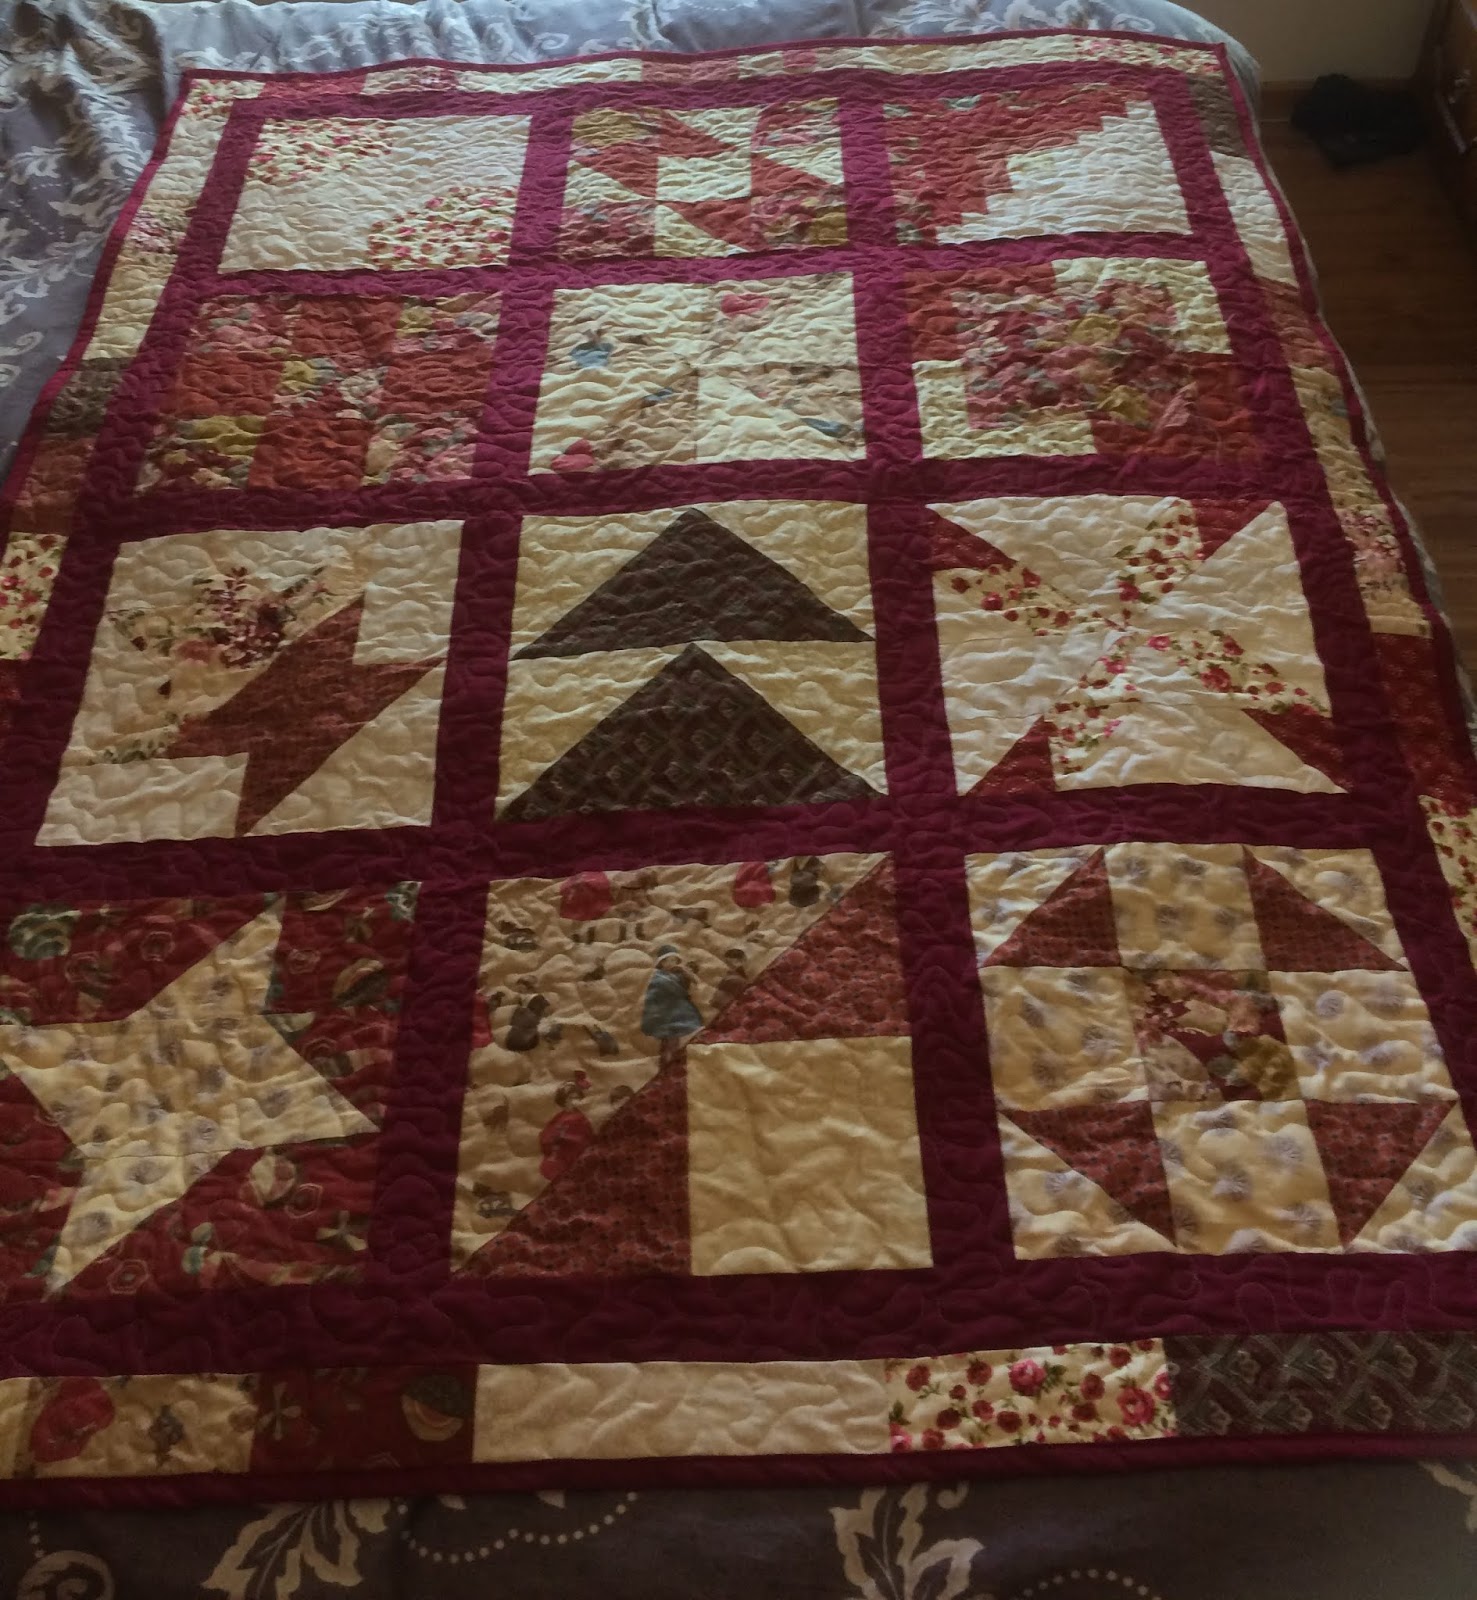
The first  photo is of a quilt made by Leanne. I had all the ladies make the same blocks since I selected each to teach a particular technique, starting with the very basics of accurate cutting, accurate piecing etc, building up to make their first quilts of which they are all justifiably proud.


The next piece of work is done by Evelyn, I've not been able to as yet get a photo of her quilt. But this is a table runner she made after completing her quilt. She found this pattern particularly hard to figure out, but her persistence won in the end and she has done a very good job of this design.


Last but certainly not least, is the lovely first ever project quilting or otherwise done by Robyn. Robyn's quilt is of course exactly the same blocks as Leanne's, however her choices in fabrics and colours make it uniquely her own. where Leanne added plain borders, Robyn has made a pieced border. A very lovely quilt one she can be proud off.


I have other photo's to get a hold of so will post them when I eventually get them.

Thank you for visiting today, I hope you have enjoyed seeing what a beginner can do.

Hugs
Beth


Saturday 26 January 2019

Pull Up Card

Its been a while since I posted a card, so here is one to show that I do still make cards occasionally.

This style has been around for quite some time, and I really can't remember how many years ago I first made a card like this. Old is new again!

I used Stampin Up Melon Mambo card stock for my base card, and whisper white for the insert.
The pretty papers are from a 6x6 Scrapbook papers designed by Brenda Walton for K&Company. I've had this stack in my stash for years, so don't know if it's still available or not.

The stamps I used are both from Stamp-It, the inside stamp is Cherish Birthday 2448D and the outside stamp is Especially for you 2931C. If Stamp-It are still in business they were located in Perth Western Australia.

The only die I used is a Tim Holtz Easel Stand for the back of this card since it can't stand on it's own. I also used Stampin Up's Decorative Label punch for the front message.

I started by cutting my base card with an A4 piece of Melon Mambo card which i cut to 14cm wide.
I then scored 1cm  in from each long edge.
I scored 6cm downs from the top short edge and again at 20.5cm. from the top edge I cut away the card on the two 1cm score lines up to the 20.5 cm scoreline. this leaves a 1 cm edge to turn in and stick the bottom section of the card up to the middle of the card. I used strong score-tape to do this.
Out of whisper white I cut a piece measuring 11.5cm square, along one edge I scored a line 1 cm down, this becomes the top edge. with the bottom of the base card adhered up, insert your scored piece of white and apply score-tape to the underside of the 1cm scored edge, fold the edge down, then fold the top of the base card down to adhere the white card in it's correct position.

Open the top, pulling up the  insert and stamp your sentiment. Decorate as desired, I wanted mine to look like a gift box. apply the easel stand to the back and your card is ready to go.


A Male version.
Thank you for visiting today, All constructive comments are most welcome.
Hugs and happy Crafting.
Beth